Here is the reformatted markdown to display correctly in Quartz (Obsidian):
TL;DR:
I started coding the widget. First, I declared a configuration activity in the AndroidManifest. Then, I created the AppWidgetProviderInfo XML to define key properties like size, preview, and behavior for the widget.
Day 3: Getting into the Code
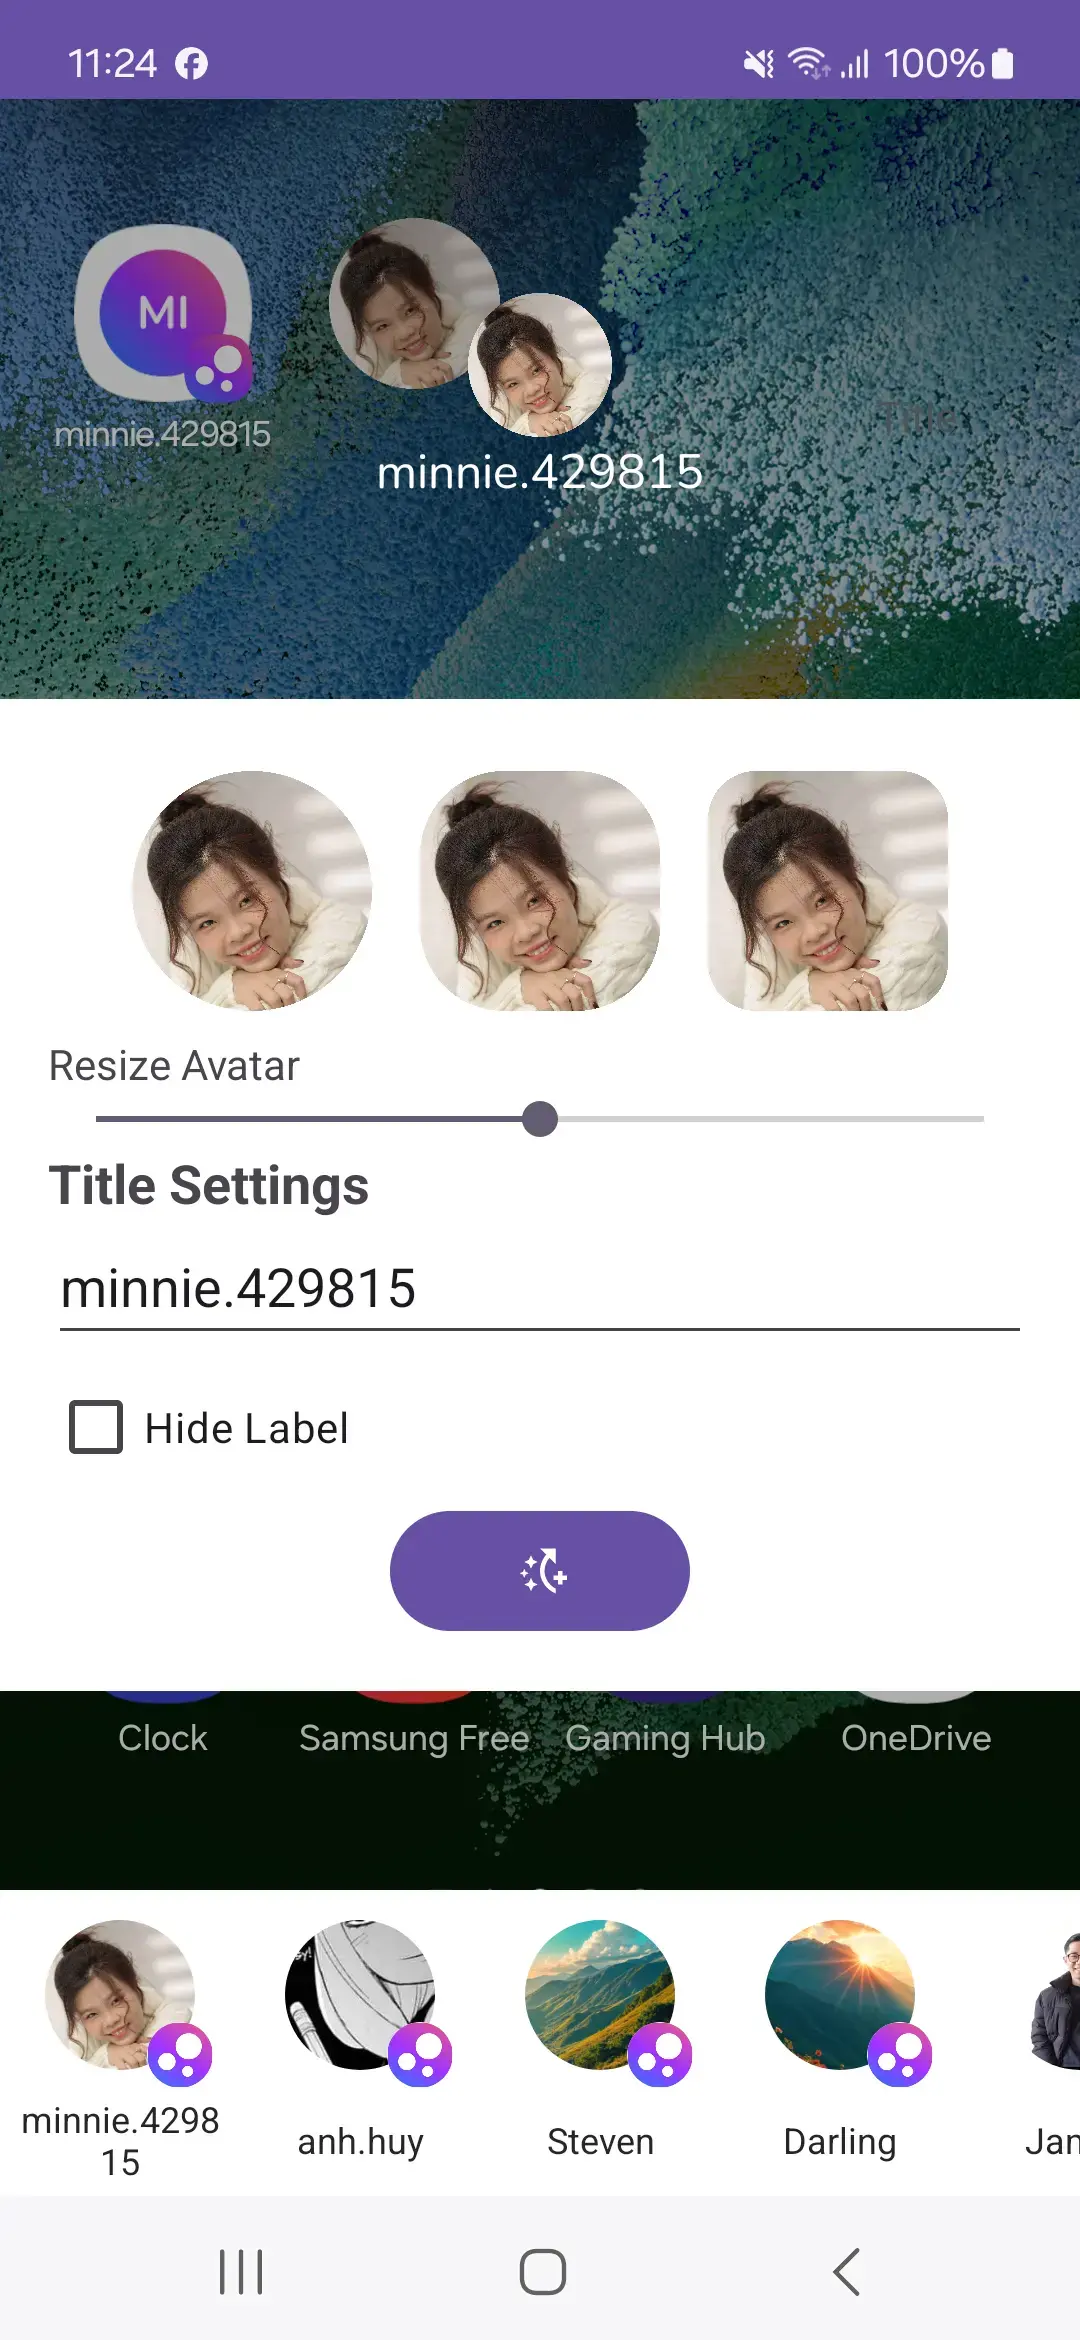
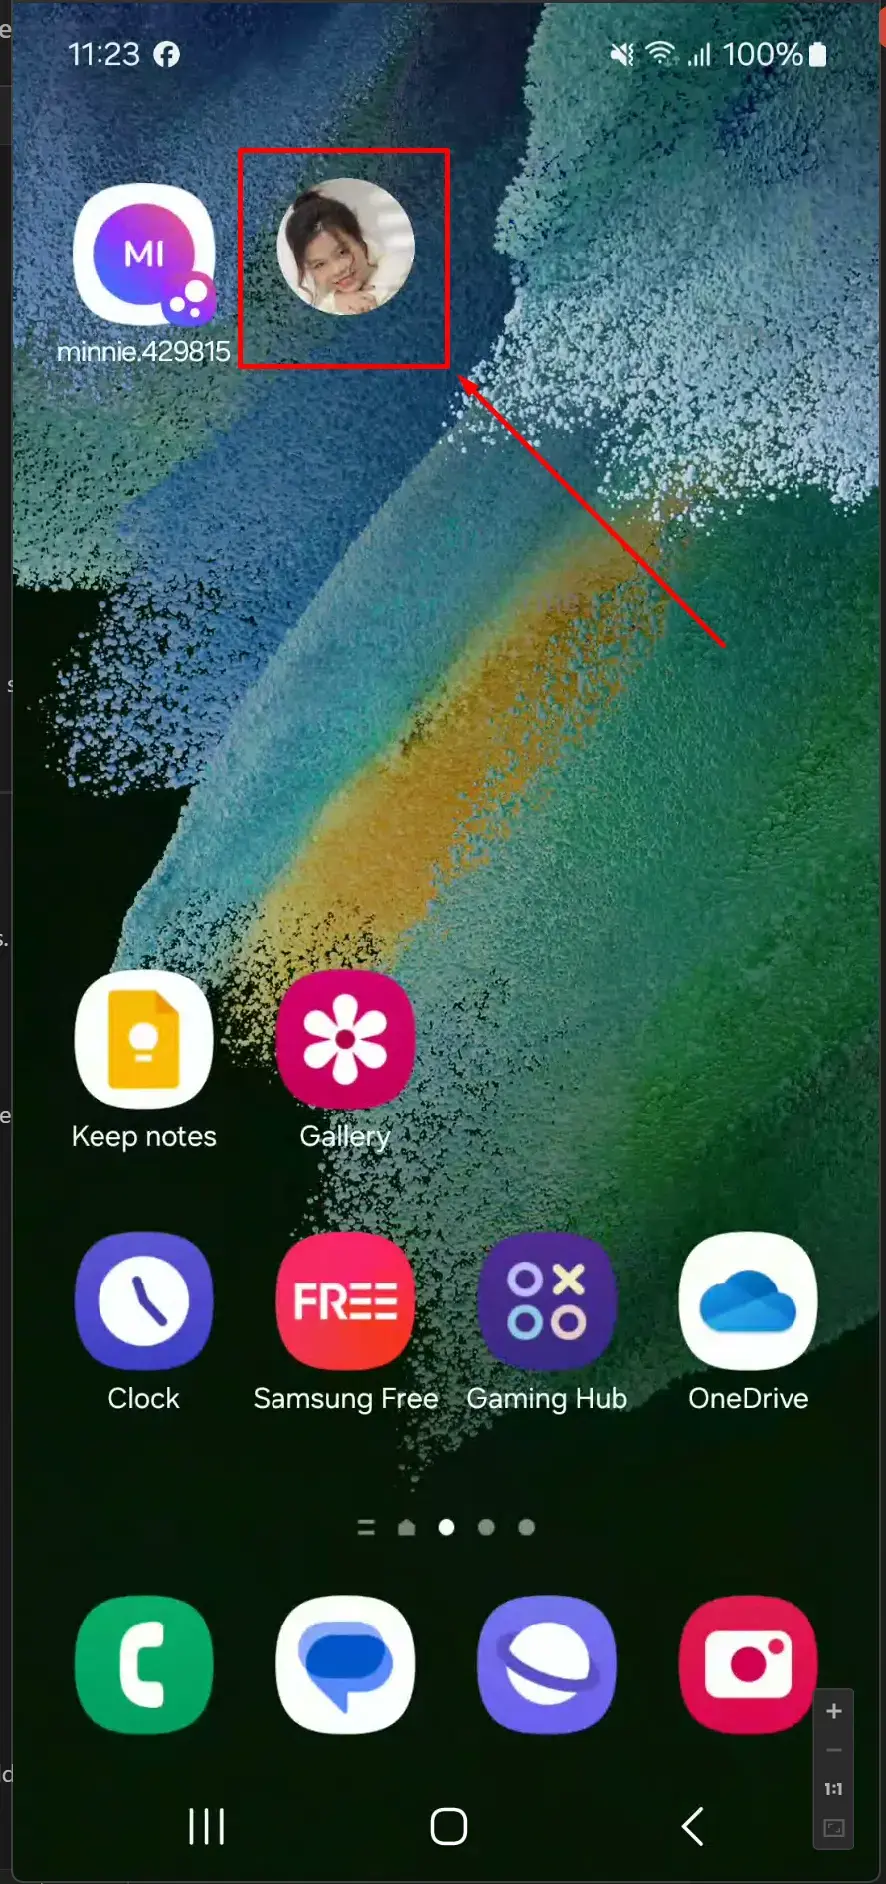
With the design and features planned, I began coding ABlink’s customizable widget. My goal for the day was to configure the widget setup and layout using Android’s guidelines.
Step 1: Setting Up the Configuration Activity
A configuration activity lets users customize the widget during its setup process. This is a special type of activity that Android launches when the user adds the widget to their home screen.
Key Steps:
- Declare the configuration activity in the
AndroidManifest.xml:
<activity
    android:name=".WidgetConfigurationActivity"
    android:exported="true"
    android:theme="@style/BottomSheetActivityTheme">
    <intent-filter>
        <action android:name="android.appwidget.action.APPWIDGET_CONFIGURE" />
    </intent-filter>
</activity>- The
intent-filtertells the OS that this activity handles widget configuration using theAPPWIDGET_CONFIGUREaction. - The
android:themeattribute applies a modern look to the activity, such as a bottom sheet for better UX.
- Implement the configuration activity:
In this activity, collect user input (e.g., text, image preferences, or layout options). Once users complete customization, return theappWidgetIdand any settings back to the system via anIntent.
val resultIntent = Intent()
resultIntent.putExtra(AppWidgetManager.EXTRA_APPWIDGET_ID, appWidgetId)
resultIntent.putExtra("custom_setting_key", "custom_value")
setResult(Activity.RESULT_OK, resultIntent)
finish()EXTRA_APPWIDGET_ID: Links the configuration activity to the specific widget instance.setResult: Signals the system that the configuration is complete.
- Persist user preferences:
Store the widget’s settings usingSharedPreferencesor a database so they persist across device reboots.
Step 2: AppWidgetProviderInfo XML
Next, I created the AppWidgetProviderInfo XML file. This file defines essential details for the widget, like its size, behavior, and preview layout. It also specifies how the OS should interact with the widget.
Here’s an example file:
<appwidget-provider
    xmlns:android="http://schemas.android.com/apk/res/android"
    android:minWidth="40dp"
    android:minHeight="40dp"
    android:targetCellWidth="1"
    android:targetCellHeight="1"
    android:maxResizeWidth="250dp"
    android:maxResizeHeight="120dp"
    android:updatePeriodMillis="86400000"
    android:description="@string/example_appwidget_description"
    android:previewLayout="@layout/example_appwidget_preview"
    android:initialLayout="@layout/example_loading_appwidget"
    android:configure="com.example.android.WidgetConfigurationActivity"
    android:resizeMode="horizontal|vertical"
    android:widgetCategory="home_screen"
    android:widgetFeatures="reconfigurable|configuration_optional">
</appwidget-provider>
mine is:

Step 3: Building the Widget Layout
Widgets rely on RemoteViews to display their content. Since widgets are rendered outside your app’s context, only certain views (like ImageView and TextView) and operations are supported.
- Create a layout file:
Define the widget’s appearance using XML. For example:
<RelativeLayout xmlns:android="http://schemas.android.com/apk/res/android"
    android:layout_width="match_parent"
    android:layout_height="match_parent">
    <ImageView
        android:id="@+id/widget_image"
        android:layout_width="wrap_content"
        android:layout_height="wrap_content"
        android:src="@drawable/ic_placeholder" />
    <TextView
        android:id="@+id/widget_text"
        android:layout_width="wrap_content"
        android:layout_height="wrap_content"
        android:text="@string/widget_text"
        android:textSize="16sp" />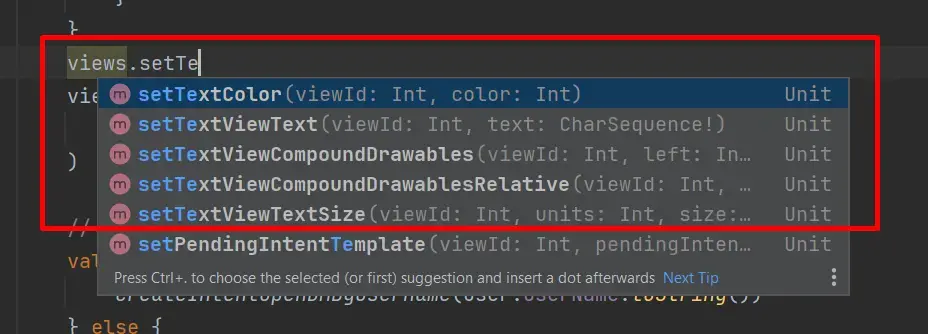
</RelativeLayout>- Set up dynamic views:
UseRemoteViewsto update widget elements programmatically. For example:
val views = RemoteViews(context.packageName, R.layout.widget_layout)
views.setTextViewText(R.id.widget_text, "Hello Widget!")
views.setImageViewResource(R.id.widget_image, R.drawable.ic_example)
AppWidgetManager.getInstance(context).updateAppWidget(appWidgetId, views)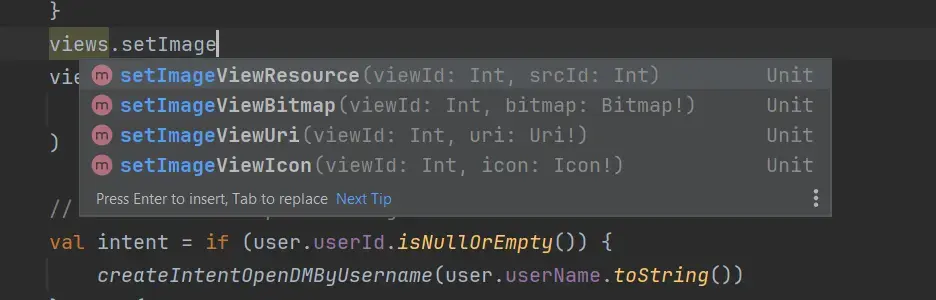
Step 4: Updating the Widget
Widgets must be updated manually or on a schedule, and the appWidgetId plays a critical role in identifying which widget instance to update.
Example of Retrieving appWidgetId:
val appWidgetId = intent?.getIntExtra(AppWidgetManager.EXTRA_APPWIDGET_ID, AppWidgetManager.INVALID_APPWIDGET_ID)
if (appWidgetId == AppWidgetManager.INVALID_APPWIDGET_ID) {
    finish() // Exit if the ID is invalid
}
Once you have the appWidgetId, you can save configuration data (e.g., user preferences) using SharedPreferences or a database and use it to update specific widget instances.
Handling Widget Removal
When a widget is deleted, clean up its associated data by using onDeleted() or onDisabled() in the AppWidgetProvider. For example:
override fun onDeleted(context: Context, appWidgetIds: IntArray) {
    val sharedPreferences = context.getSharedPreferences("WidgetPrefs", Context.MODE_PRIVATE)
    appWidgetIds.forEach { id -> sharedPreferences.edit().remove("key_$id").apply() }
}
By carefully managing the appWidgetId, you ensure that each widget instance is updated and handled independently, providing a seamless user experience.
Tags:
ABlinkAndroidDevelopmentAppWidgetsWidgetConfigurationRemoteViewsAppWidgetManagerPendingIntentHomeScreenCustomizationAndroidManifestCustomWidgetsAndroidOS
ABlink - Fixing Contact Shortcuts on Android - Part 1 ABlink - Building the Perfect 1x1 Widget Part 2